Creation of Automated VM's using Vagrant


Table of contents


No headings in the article.
Vagrant is an open-source software product for building and maintaining portable virtual software development environments; e.g. for VirtualBox, Hyper-V, Docker containers, VMware, Parallels, and AWS.
Vagrant is an automation tool to manage your VM lifecycle. Right from creating a Virtual Machine to making any changes, Deleting it, Recreating it, and Provisioning it.
In short, Anything that you do manually with VMs, you can automate by using Vagrant.
Why Do we need VM Automation :
OS Installations
Time-Consuming
Manual Setup
Documentations for Multi VM.
Benefits of Vagrant
Tools & Technologies Pre-Requisites :
VTx: Enable Virtualization in BIOS
To simply check if it is Enabled or not follow the below steps.
- Open Task Manager.
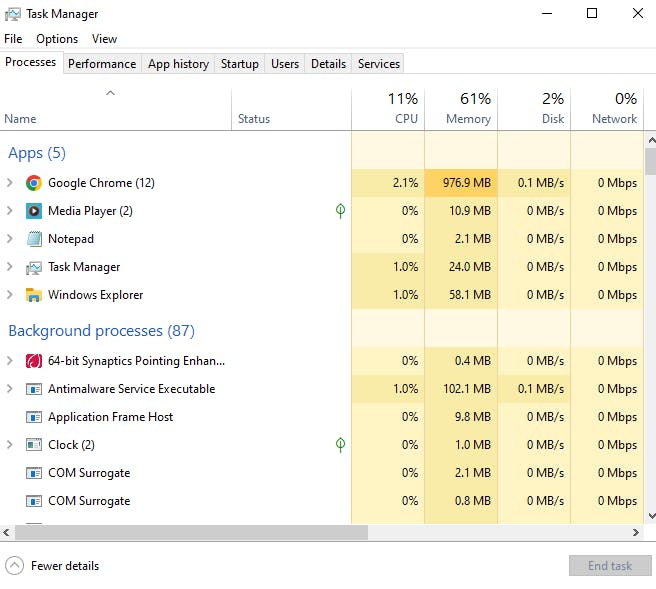
- Click on the Performance tab on the top.

Then check in your Right Bottom

Oracle VM VirtualBox: Install Oracle VM VirtualBox
Git Bash: Install & Open Git Bash, Create a folder in the location where there is Vagrant installed, and Enter that folder using Linux Commands.
Vagrant: Download the boxes that you want to Install.
The ready-made virtual machines that Vagrant will download for you. The images in VM language are called boxes in vagrants.
Choose whichever you want out of the list.

- Click on the box you want to install and copy the name of the box as shown below.
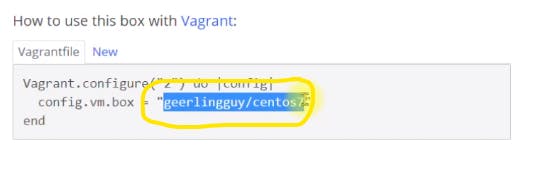
Use the command Vagrant init name of the box & enter.
Next, you can see the vagrant file installed. Then you can use the Vagrant up command to install the particular VM.
This is the way you can create VM Automatically using Vagrant.I hope this blog has helped you with good information about the Installation process. Thanks for investing time & reading this blog Like & Share this blog with your friends. Do Comment & let me know your views.